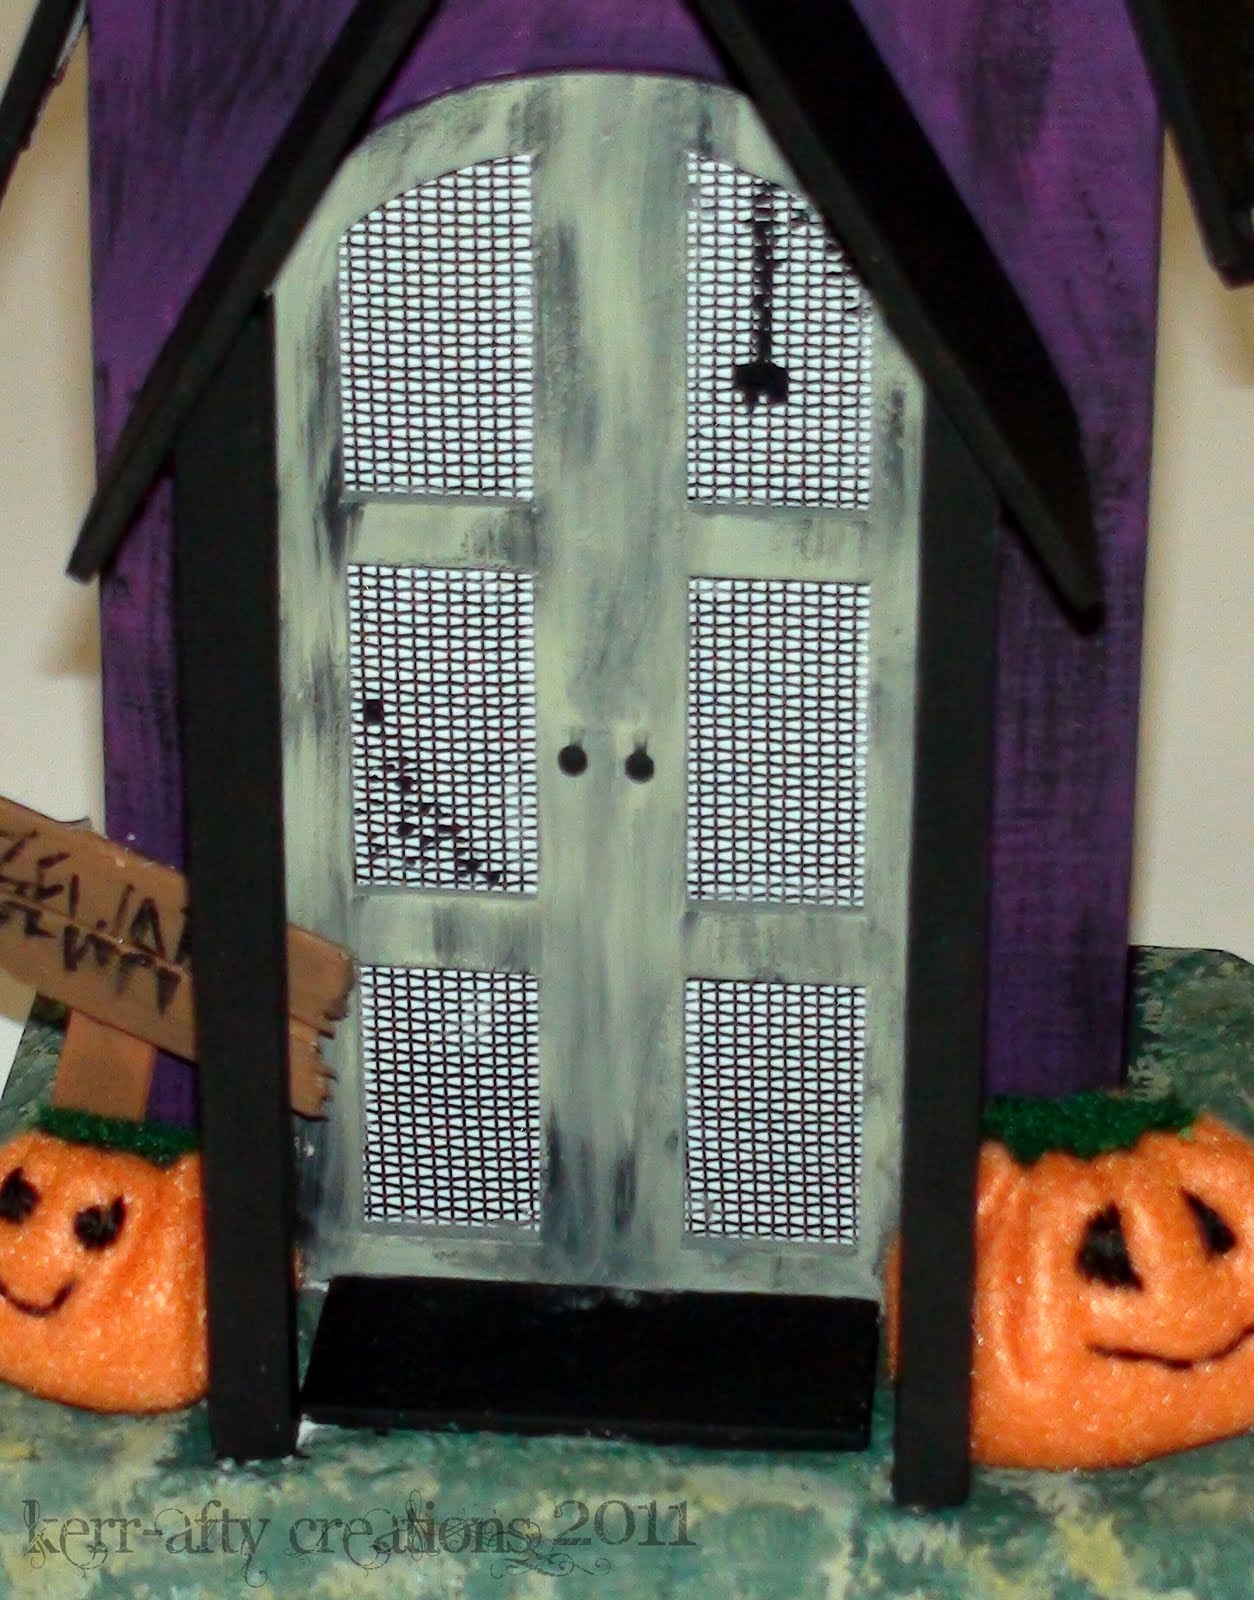
Monday, October 31, 2011

Cutesy Clown


Happy Halloween!
Hope everyone has a safe and treat filled time!

I am sure looking forward to going Trick or Treating with S, I'm hoping she'll get really excited about it. Although don't you think it's kind of a weird concept...teaching your kids to go to strangers houses and ask for candy??? hmm.....anyways....

The picture above is of sweet lil T in MY very first halloween costume! Homemade by my mom circa 1986. Aren't I a cutie(below). You may recognize these pics from my Spooktacular Mini Album which records a lot of my childhood halloween costumes.


It's funny because I was a couple of months older than what T is but she fills it out much better, haha, I must have good milk! (Below: My Grandpa holding me and me holding T.)

She won't be wearing this costume tonight however, you'll just have to wait and see what the girlies wear in a post later on this week!


Sunday, October 30, 2011

Halloween Mantel


So, I thought I'd share a quick post of my Halloween mantel (actually two mantels since we have a two-sided fireplace). Now it is no where near the fabulous mantels you can find in blog land but it works.


Side #1: Plastic Jack-o-lantern from Walmart, Picture of Sadie from last halloween, Haunted house, Embroidered quote (which still works because it is green), Jar Candle, Homemade Owls, Picture of me and hubby as Sweeney Todd and Mrs. Lovett, and the Spook-tacular Mini Album.


Side #2: Partylite Change-o-luminary candle holder, dollarstore ghost and pumpkin, Tin Jackolantern, Trick or Treat sign from the dollarstore, Spider candleholder, homemade Frame with a pic of Sadie from her first halloween, Heart punch Art, and a plastic spider.


Oh, and I thought I'd also share the centerpiece of our dining room table. I got this awesome spiderweb bowl at Winners along with the placemat, a couple of years ago. I usually have it filled with candy but Sadie kept getting into it so I replaced it with wicker balls and plastic spiders.
Tomorrow I will be posting a pic of Thia in my old halloween costume!!


Wednesday, October 26, 2011

Halloween Wreath...Two ways


It all started with this wicker wreath I got at a thrift store in a bag of stuff for $4.... I decided it would be transformed into a cute halloween wreath......instead I transformed it into this mess:


It literally hung there for less than a minute (enough time to grab a pic), it then went back to the craft room for some rethought (is that even a word??). After awhile I came up with this:


A step up in my opinion but I'm still not thrilled with it. I had wanted to spray paint it black but alas there was no black paint in the garage. So this is how it will hang at least for this year.


It was a lot of fun making the felt flowers and I thought I needed to add in some sort of halloween character, hence the bat. My husband says the turquoise confuses him a little, not being a 'halloween' color, but I kinda like it... what do you think?


In other news, my little girl finally let me paint her toenails!!!! ...and one hand of fingernails! I have only painted them once this summer and she was asleep when I did it, so I was pretty pumped when she said 'yesh mommy' when I asked.


Now when I wanted to take a picture it was a different story, I got one good shot (after bribing her). The rest mostly looked like this:


Monday, October 24, 2011

DIY Magazine Holder


I was at a Scrapbook Retreat all weekend ( I can't wait to show you what I accomplished). Due to staying up both Friday and Saturday night til 2am I have decided to share with you a post that I had written up earlier in the week! Here it is.... a DIY Magazine Holder.

I'm in the middle of reorganizing my craft room/office, among other things. I realized I needed a couple magazine holders for all my crafting magazines to save some space. Of course I did not want to spend a penny on them so this is what I did:

1. I saved two large cracker boxes and cut diagonally across so
they were the shape of a magazine holder.

2. I traced the large side onto patterned paper,
cutting about 1 inch from the actual traced line.


3. I then glued the paper to the box with excess hanging over all edges
(I used Aleene's Tacky Glue, I was out of Modge Podge).
I then cut the corners like so:


4. Fold all the edges over and glue down


5. Repeat steps 2-4 with the other side.

6. Cut a rectangle that is slightly larger then the front facing piece.
Glue down with excess hanging over on all sides.
Cut corners like below picture, fold over and glue down.


7. Cut another small rectangle and fold over the top of the box, just to make it look nicer.

That's it, throw some magazines in that thing!


You could also cover the back and the bottom, (I would do this before doing the side pieces), I chose not to because they won't ever be seen.

Also the cracker box wasn't as sturdy as I thought it would be so if you are wanting it to stand alone I suggest a stronger material. But for what I wanted, this worked.
Happy Organizing!


Tuesday, October 18, 2011

Pumpkin Carving Layout


Another layout from last fall, our annual pumpkin carving night.

Hubby and I have been carving one pumpkin each since our second year of marriage, we carve them so that the other can't see and then we do a big reveal at the end. It's a thing that I made him do to get into the fun of halloween (he actually really enjoys it now). Last year we were able to include Sadie a little bit. It was a lot of fun watching her reactions, this year should be even better!


The details:
This layout is from Becky Higgins 'Sketches' book. The paper used is Boo to you by My Mind's Eye, as well as the little character cut outs. I embossed the title, did some stitching with green embroidery floss, and distressed the edges of the paper. The cream colored lace is from the dollar store and the black felt flowers are cut out from a roll that is made to look like lace (sorry don't know the brand). There is also a tiny bit of bling with some orange rhinestones.

This weekend I'm heading to our local scrapbook retreat (remember last year?). I am super pumped and I am just in the process of getting everything organized....so excited to get caught up... hopefully Thia won't be too distracting.


Thursday, October 13, 2011

A Haunted House


If you were following my blog last year you may remember the Christmas Cottage I had made from one of two houses I had bought for $1 each at Liquidation World . Well as promised I said that I would make a Haunted House this year for Halloween from the house that was left.


With a simple coat of paint (and some distressing) you can really make it something new:


I made a 'beware' sign from broken Popsicle sticks which I painted and hot glued together.
I also made the little pumpkins out of felt (tutorial coming soon).


I wanted to make the door way a little bit more 'creepy' but the mesh that was already in place made things a challenge. I decided to try and paint something that resembled a spider web and a little spider over top of the mesh, and this is what I came up with...


I wanted to incorporate a bat somehow and decided to put him on the very top, coming out of the chimney/steeple?...I decided to hammer in a small nail which I then painted black and hot glued two felt pieces (cut out in a bat shape) together with the nail in between.


...and there you have it my cute but spooky Haunted House.


linking to:
Sugar and Dots
Someday Crafts
Tatertots and jello
let birds fly


Come Together Kids


Tuesday, October 11, 2011

Too Cute to Spook


Since Halloween is coming up I thought I would share with you my Scrapbook layout from last year. S was a cute multi-colored Lion and we didn't even know about T yet! Since she was just over one year old I did take her to a couple of houses Trick-or-treating, she loved it!


Some Details:
I used Close to my Hearts 'You Rock' paper pack and I think it worked great for a Halloween page. The layout is also one of Close to my Hearts designs called 'Backstage' which can be found in the Magic book (I tweaked it a little). The branch and the birds are fancypants design chipboard that I painted black and the orange letters are Heidi Grace.


By the way...Happy 'late' Thanksgiving! (to all my fellow Canadians, that is) My parents came to visit, so I didn't get any blogging done. We took a trip to this national park.

I just love the view from the top of a mountain....


We had one tickled little girl when we stopped by Candy Bears' Lair ......I was quiet happy too (although it wasn't because of the huge stuffed bear outside the store), I was craving a candy apple!

Hope you had a great weekend!