Monday, June 27, 2011

Mom, I am so Thankful for you - Emporium Card Pack


My mom has been here helping me since Thursday and she will be staying until this coming Friday. I wanted to give her something to show my appreciation (she has been a tremendous help thus far: cooking, cleaning, running after the toddler,etc.). I had made this card pack up for her a couple of weeks ago. I got the original idea from here. Vicki had used it as a Mothers Day gift and had made the box to look like a purse (I opted to get rid of the handles).


I made two each of the following six cards to go inside (with envelopes too, of course):


Close to my Heart products used:
- Emporium Paper Pack
- A handful of stamp sets
- Cocoa, Sweetleaf, and Heavenly Blue Ink
- Liquid Glass
- White Daisy and Spring Blossom Collection Flowers
- Sweet Leaf Ribbon
- Mocha Opaques
- Black Button Brads

I am so glad that my mom has been able to be here for Thia's first week it has been such a blessing. Thanks again mom!


Thursday, June 23, 2011

A little Surprise

Well on Monday I was going to post something to the extent of "The Final Countdown: 10 days To Go Til Baby Arrives" and give you all an updated version of the list I had brought up in this post. Sharing with you what I had gotten done and what still needed to happen before babies arrival,
but.....
my plans went askew when I WENT INTO LABOR!!!

One stressful ride to the hospital and another emergency c-section later, we were able to meet our 3 week early bundle of joy!
It's a Girl!! Meet S's little sister, T.


We just got out of the hospital yesterday and we have been settling in quite nicely, although S is still at Grandma's til this afternoon. We'll see how it goes once she shows up, T will be mauled with hugs and kisses, among other things such as poking and prodding.


Interesting Tidbit: S was born on my Grandpa's birthday(my mom's dad) and T was born on my other Grandpa's birthday (my dad's dad)....so we have two very proud great grandpa's! Go figure!

We had such a sweet surprise this week, I guess my list will have to wait a little while to be completed. Be patient with me in the next few weeks because I'm not sure how much I'll be able to blog. I might be too busy cuddling my girlies!

Did you have any 'little surprises' this week?


Sunday, June 19, 2011

Snips and Snails...that's what lil boys are made of


One of my closest friends had an adorable baby boy at the beginning of the month and I got to meet him last Monday. I made this cute card to accompany his gift (A sock monkey and two tigger sleepers).

This was another idea I found in last months Scrapbook Etc. magazine. I just loved the snail and had to try it. You simply cut out all the body parts and add googly eyes! For the shell you cut a large circle and then cut again to make a spiral, distress the edges and then adhere back together so that it is like a little bowl. Use a 3D dot to adhere to the card and you got an adorable snail embellishment! I'm pretty sure I'll be using this guy in a layout sometime in the future, he's too cute to pass up!


I used these CTMH products:
- Miracle and Emporium Paperpacks
- Sweetleaf, Bamboo and Heavenly Blue Ink
- Babylove Stampset
- Chocolate Waxy flax


Saturday, June 18, 2011

A Night Table Refinished


I found this night table at a yard sale for $3 and I thought 'that would be perfect to replace the TV tray in our guest bedroom!'. Haha, I'm totally serious...TV trays make great night tables if you have nothing else available and no extra cash to go out and buy one.

Anyways of course I had the plan all along to repaint and switch out the handles, but as I perused other blogs to see what everyone else does I found that plastic veneer is not the best thing to work with. None the less I was still determined to make my $3 buy a good one. I first sprayed it with a plastic specific spray paint, twice, and it still didn't look anywhere near decent so then I just decided to use some good ol' latex paint that I had in the garage (leftover from the trim in our house I think..). We had a couple handles left over from our kitchen cabinets (how did that happen?) so they worked perfect to bring a more modern look to the table.

Tadaa, a new-looking night table for the guest bedroom!!!


Night Table - $3
Spray Paint - $16 (had to buy 2 cans, I should have done just one coat and saved myself $8)
Latex Paint - free
New Handles - free

Total cost = $19


The guest bedroom reveal should be coming soon!

Linked to:
I Heart Naptimes Sunday Scoop
Tatertots and Jello Weekend Wrapup


Wednesday, June 15, 2011

Father's Day Cards


Well at least my Dad and Grandpa's will be able to sneek a peak on-line this year, due to the Canada Post strike I'm pretty sure they will not be receiving their cards by Monday (boohoo). But in the true words of my dad,"Better late then never!".


I used these Close to my Heart Products to create these cards:
- Kraft cardstock
- Magnifique patterened paper
- Pacifica, Vineyard Berry, and Cocoa Inks
- You and Me Stampset
- A Little Everything Stampset
- Boutique Borders Stampset
- Felicity Stampset

The buttons were just from my stash and are not Close to my Heart product.


Saturday, June 11, 2011

Recovered Bolster Pillow


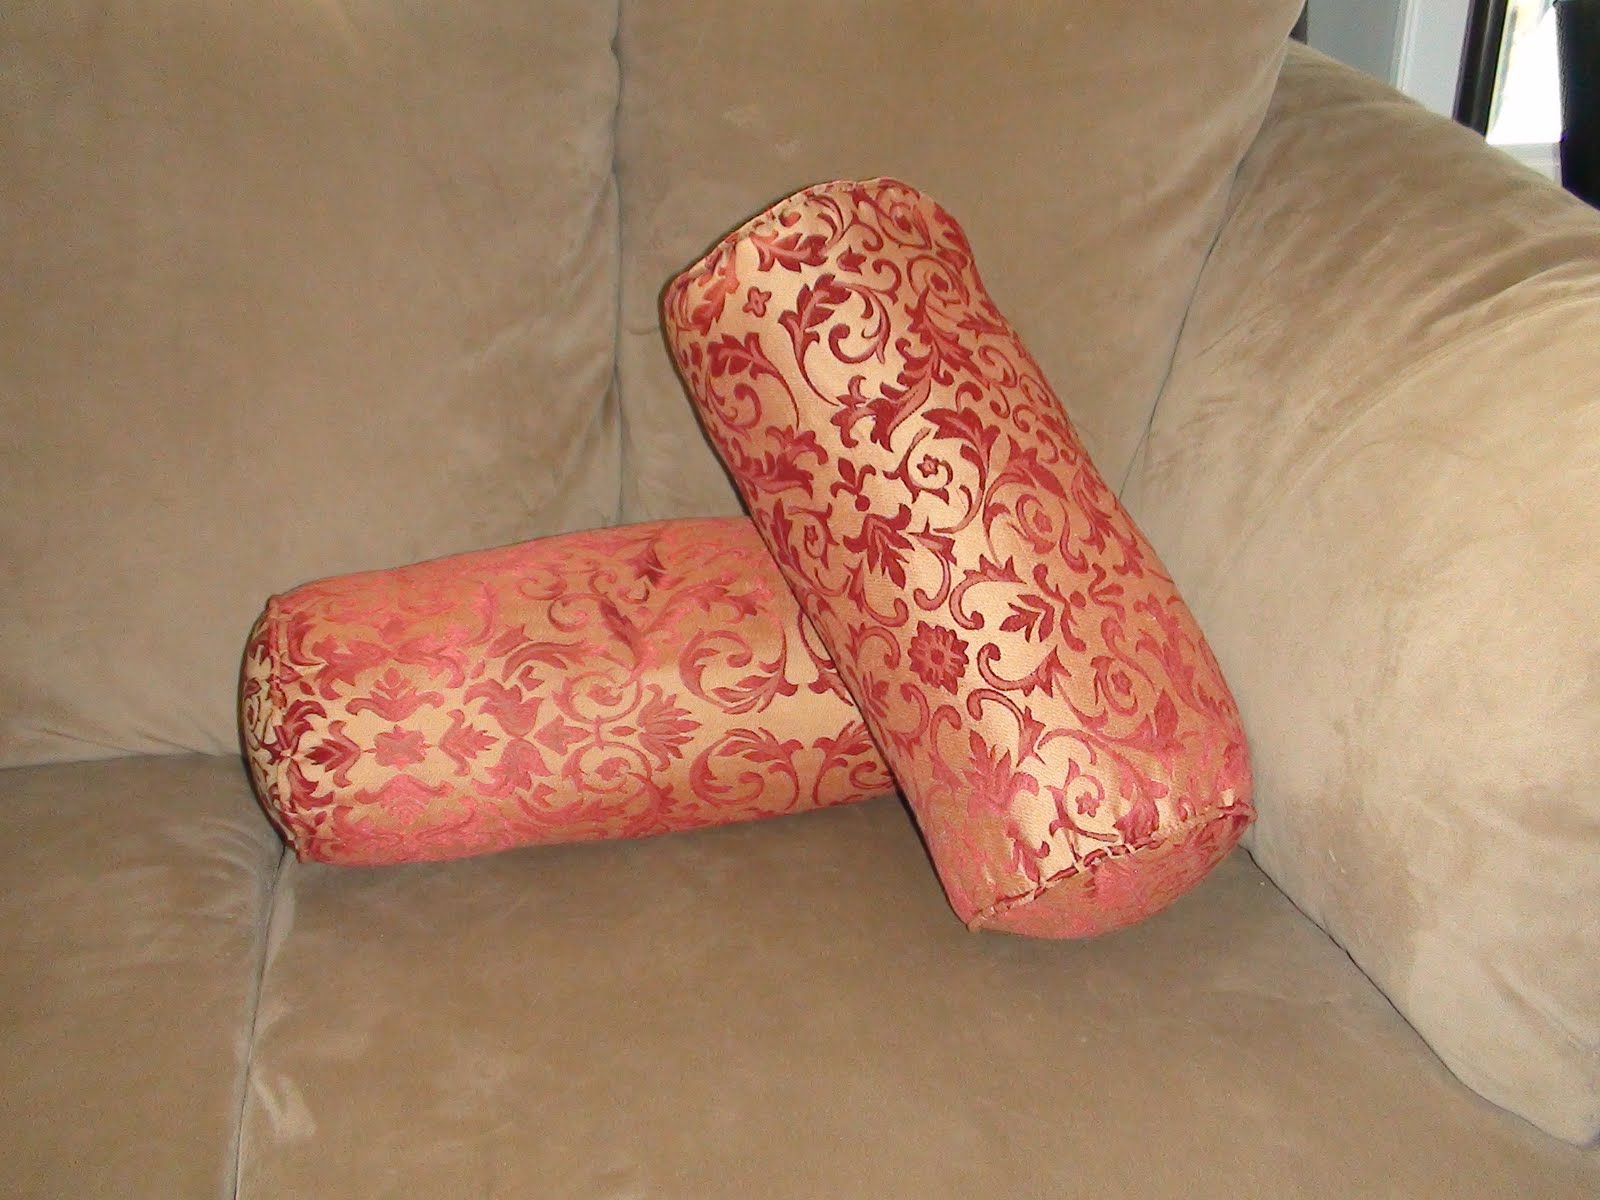
I found two bolster pillows at a recent garage sale for for only 50 cents for the pair! I was super excited to re-cover them (especially at that awesome price!). I had originally planned on just covering over top of the existing fabric but realized that they actually had a nice white cushion inside:


yippee!

... and after looking through my fabric stash I came across this fabric (which happens to be the ends of my hemmed kitchen curtains, another money saver):


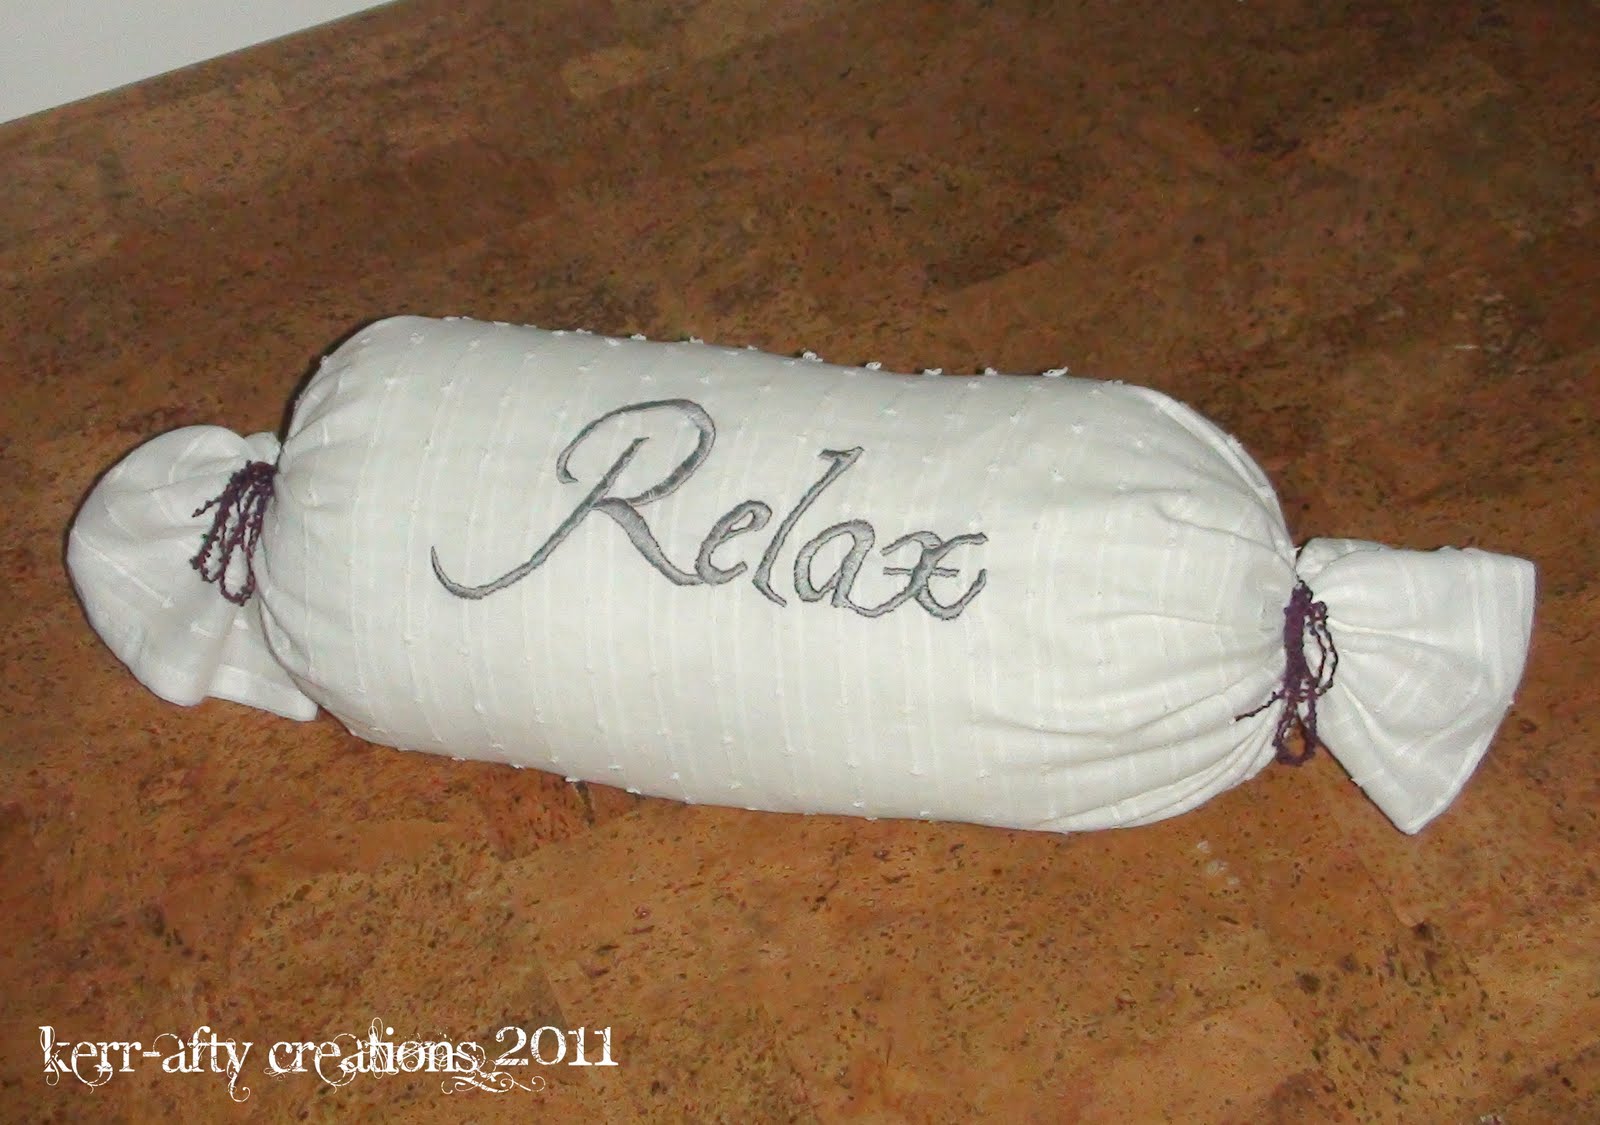
I didn't even have to do any cutting at all I just simply folded the fabric in half (because it is quite sheer) and went to work hand embroidering the word 'Relax' onto what would be the front of the pillow (the middle of the fabric square):


I then wrapped the fabric around the cushion** (right side touching the cushion, wrong side out) and pinned the two edges together making a line of pins horizontal to the lettering (sorry no picture of this step). I then sewed along the line of pins removing them as I went a long.

**Note: Since the fabric I used was curtain leftovers the two raw edges on either end of the cushion tube were already hemmed, so if you are doing this with a normal piece of cut fabric you'll want to hem those edges before doing this step.


Turn the tube right side out and stuff your cushion in, tie each end with some decorative ribbon/string and Tadaa a totally new looking bolster pillow!


Cost of the project:
thrifted cushion> 25 cents
fabric (leftover material from curtains)> free
embroidery floss (on hand)> free
Sassy strands decorative string (on hand)> free

new bolster pillow = basically 25 cents!...not bad, not bad at all!

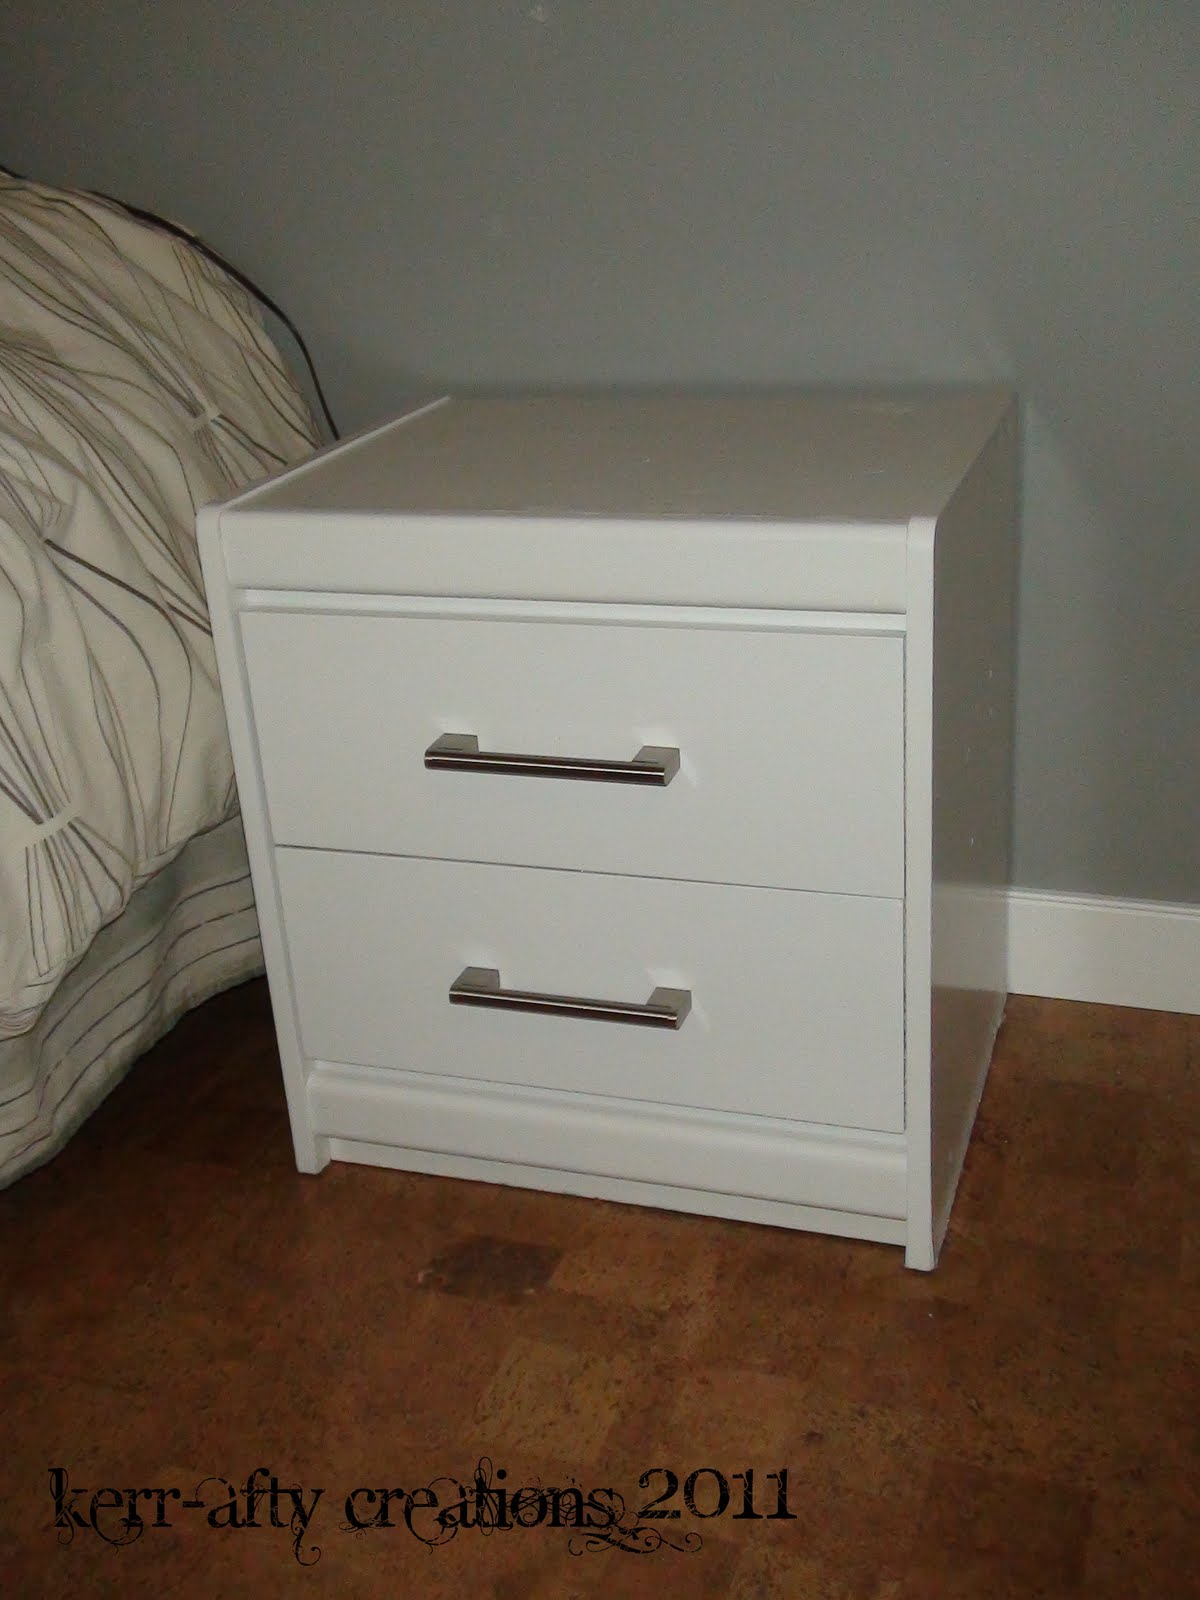
This cushion is making it's way to the guest bedroom which will hopefully be revealed soon!

linking to these parties:
Tatertots and Jello Weekend Wrap Up
I Heart Naptimes Sunday Scoop
Sugar and Dots What I Whipped Up Wednesday
Someday Crafts Whatever Goes Wednesday


Thursday, June 9, 2011

Grad Card


Wishing all the best to my lil' cousin Carson on his graduation! (when I say lil I mean young, cause the kid is WAY taller than me!) I made this card to send to him and I hope he gets it soon (the canada post strike sucks). We won't be able to make it home for his grad because well I'll be popping out a baby within days of it and it is 8 hours away...although it would've been nice to revisit my highschool and see some old friends!

I simply made this card out of cardstock in my 'scrapbox' and threw some sassy strands and foam letters on. The actual idea of the 'color cube' (for lack of a better description) was from last months Scrapbook etc. magazine. They actually had it done up as a super cute baby card. I have plans to use this design again as it is not only cool looking but simple!

Anyways congrats Carson, and enjoy what you have left of your highschool career, you will be remembering these days for years to come!


Wednesday, June 8, 2011

Parcels from Grandma


I just love snail mail!! My sweet grandma has sent me a couple of packages these last couple of weeks. She volunteers at the thrift store at my hometown and she found a couple of goodies for me! The first parcel included three vintage patterns for childrens clothing. I might try to make a couple of them but regardless the pictures are so cute I am tempted to just frame them and hang them in my craft room. Take a look:


The second parcel came and it included 27 pre-embroidered quilting blocks. All the embroidery pieces are different, below are just a couple of my favorites (Why someone would get rid of all this hard work is beyond me). You'll have to wait and see what projects I come up with for these blocks.


Thanks grandma for the great finds!


Monday, June 6, 2011

Super Simple Canada Day Sleeper


Even though we are most likely going to be spending all of Canada Day in the hospital this year, I thought why not dress up the new baby anyway!

Instead of getting a store bought Canada sleeper I decided to alter a plain red one (hand-me-down from the big sister) and save a few bucks. What I ended up doing couldn't have been more simple!

Here's what I did:
1. Find a pic of a maple leaf, I used google images.
2. Trace said image onto white felt.
(I actually did this right on my computer screen, our printer was low on ink...and hey it's just like a light table, just don't use a pen that you need to push down hard the key is to trace lightly!)
3. Cut out.
4. Embroider smiley face onto leaf.
5. Use heat and bond paper to attach to sleeper.
TaaDaa A Canada Day outfit! (You could also stitch around the leaf but I decided not to.)


A close-up of the cute little maple leaf.


Well that's one project done from 'the List'. I am currently working on a 'big sister' shirt so hopefully I can post that soon!

linking to these parties: