I've done it, I'm finally posting my FIRST ever tutorial!! I'm usually using all the other wonderful and amazing tutorials out there in the blogging world and I've finally decided to post one of my own! This is a cushion I made for my daughter and thought I would share how it is done. Bear with me as my instructions may not be up to par!
First Off: the supplies
(sidenote: a great start to a tutorial post- no supply picture! err sorry!)
- 2 rectangles of fabric**
**size will change according to length of name and size of font. I used 8 1/2" x 12 1/4", white broadcloth for front and pink flannel for the back.
- 2-3 strips of 5" wide x 44" long fabric
- fabric for the letters
- computer and paper to print out font, or you can just freehand it
- Heat and Bond paper
- Iron
- Embroidery Floss
- Sewing Machine
- Stuffing
On to the fun stuff:
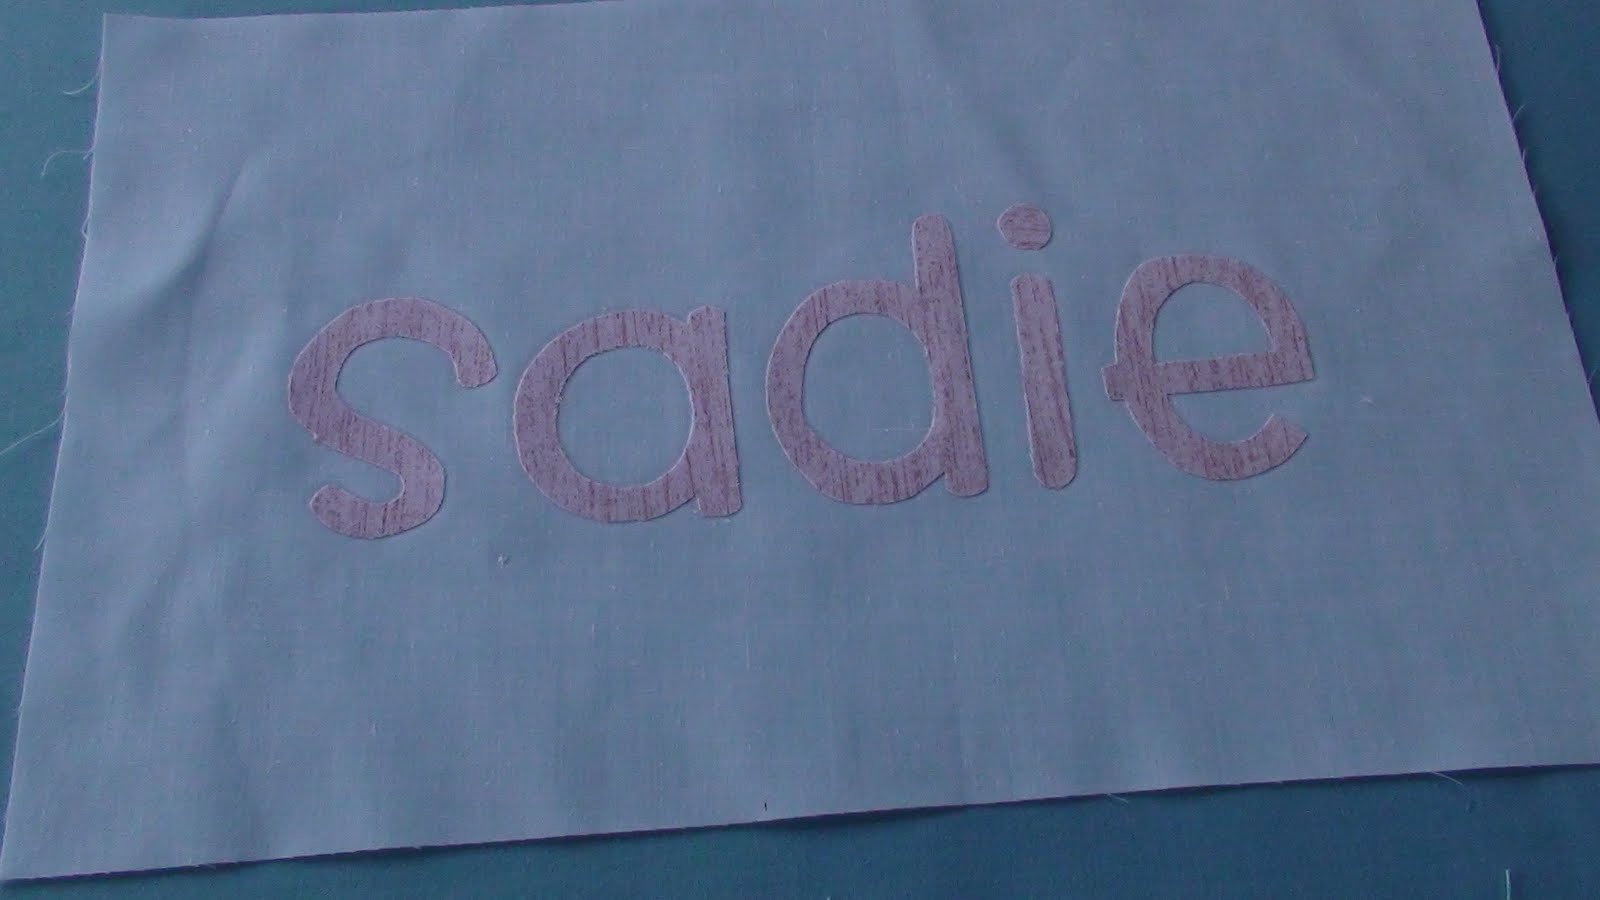
The Name Applique

1. Using a large font size print out letters onto computer paper, make sure to 'mirror' the image in print settings.

2. Trace the letters on to the Heat and Bond paper (on the non-shiny side). Cut out and follow the ironing instructions that come with the H&B paper. First attaching the letters to the fabric of choice, cutting out and then attaching to your rectangle of fabric that will be the front of the pillow.

3. Use Embroidery Floss and hand stitch around the letters.

4. Set aside the finished front piece, for now :)
The Ruffles

5. Sew your strips together along the short sides so that you have one loop of fabric.

6. Iron the seams open

7.Fold strip in half lengthwise and iron, so that your strip is now 2.5" wide. (I did this step before sewing them together, whichever works You just have to make sure you get where they are sewn together good and flat)
8. Sew two gathering stitches around the bottom of the strip(opposite of the ironed edge), leaving enough thread on both ends to be able to pull on them.

9. Pin strip/loop around the front piece, making sure it is evenly distributed. Pinning it down in one spot then the half way mark and then the 1/4 and 3/4 marks. I just eye-balled it, doesn't have to be perfect

10. Pull on the threads from the gathering stitches, which will cause the fabric to pucker, creating your ruffle. Evenly distribute ruffles between pins til the strip has shrunk to fit the outside of your rectangle.

11. Add more pins to make sure the ruffle stays put.

12. Sew in between the two gathering stitches all the way around.
13. Gently pull/rip out the gathering stitch that is on the outside of the sewing line. (closest to the ironed edge of the strip, the other one will be hidden inside the pillow)
Putting it all Together

14. Pin and sew the back rectangle onto the front rectangle, right sides together. Make sure the ironed edge of the ruffles stay in between and won't get caught in the stitch. Leave a hole so that you are able to turn it right side out.

15. Turn it right-side out...bet you never saw that step coming,haha.

16. Stuff with fluff to the desired plumpness and sew up the hole.
Ta Da!! You have your very own Ruffled Name Cushion!

If you try this out please let me know, I would love to see what you come up with! I would also like any feedback on the actual instructions..if they were at all easy to understand or not. Please also give credit where credit is due and link back to this tutorial please:)
Hope to see some fabulous name cushions! Happy craftin'!